Let me start off by telling you that I am not in the tutorial business. There are plenty of bloggers who do plenty of tutorials, but when I was looking for a tutorial to make stockings, I was unable to find what I was looking for – so I had to wing it. I thought I’d share in case any of you are hoping to sew stockings for your family this year.
If you have a free morning (or entire day depending on how demanding your kids are/how many mistakes you make), you have plenty of time to whip these up before Christmas!
Please note: I’m writing this with the assumption that you know how to sew, so I didn’t go into depth about how to sew.
Supplies:
A yard of fabric per stocking
Batting
Twill tape
Straightedge and fabric marker or soap
Paper bag
Pins from Pinmatics
Thread, etc etc
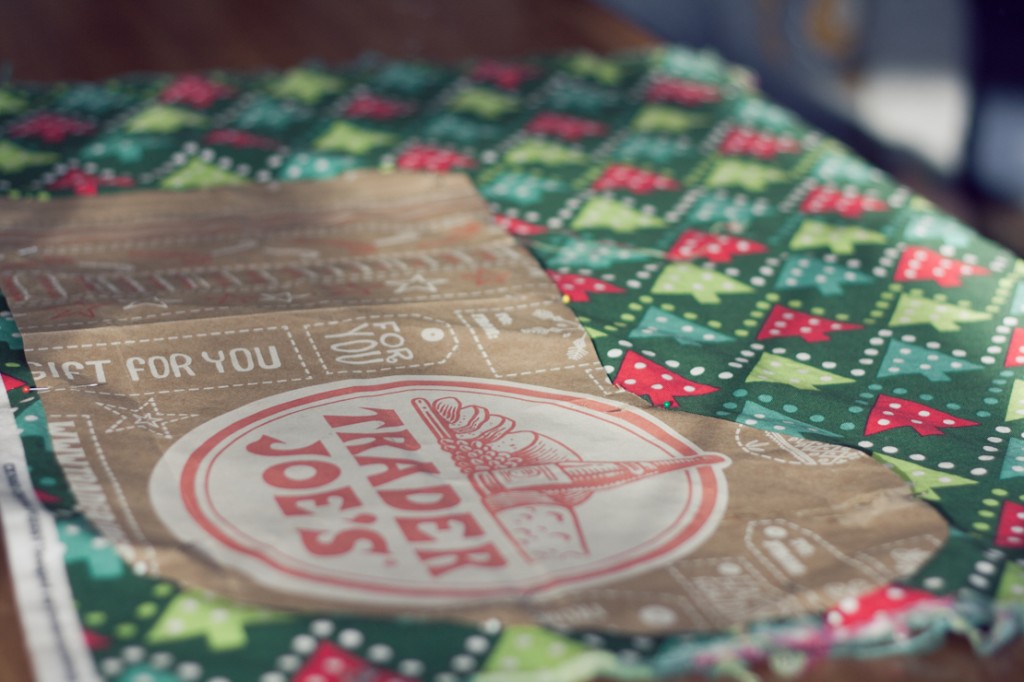
1: Cut a stocking shape out of a paper bag.
For the shape, I used an old stocking and added some seam allowance around the edge.
2: Pin to fabric and cut out four stocking shapes for the outside and lining.
You can coordinate the lining with the outside, clash completely, or it can be the same fabric. It’s your call, buddy.
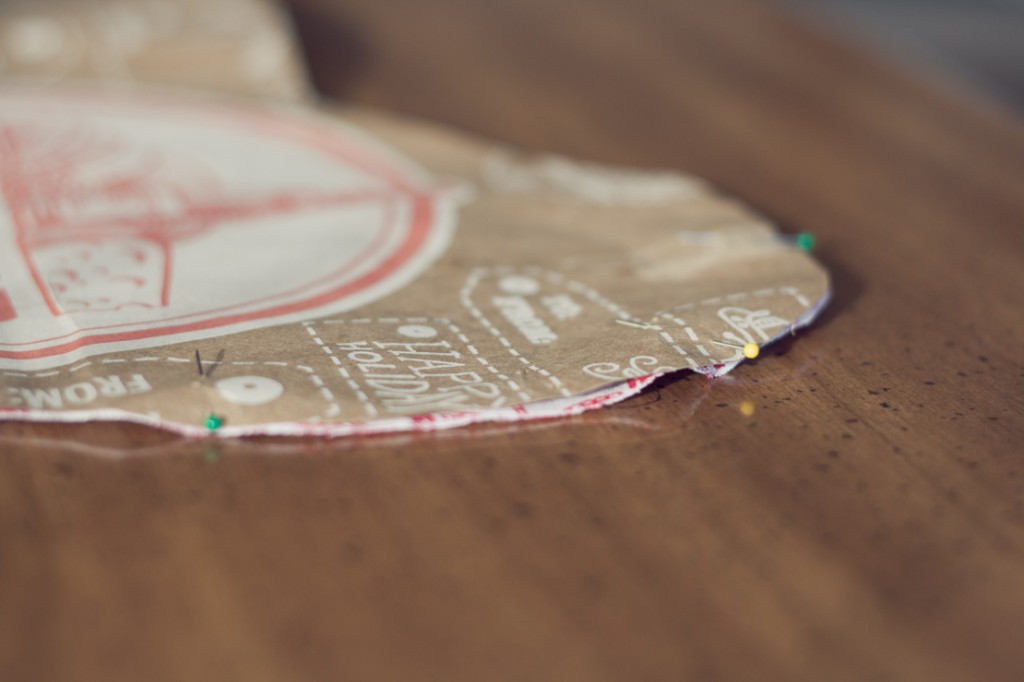
Repeat until you have all the stocking shapes:
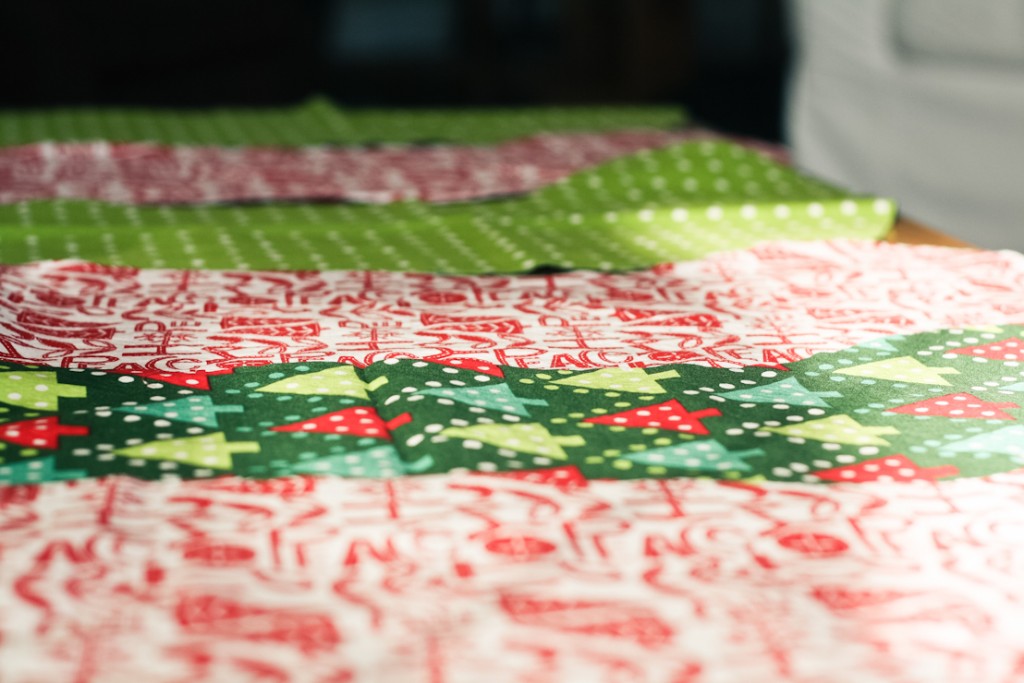
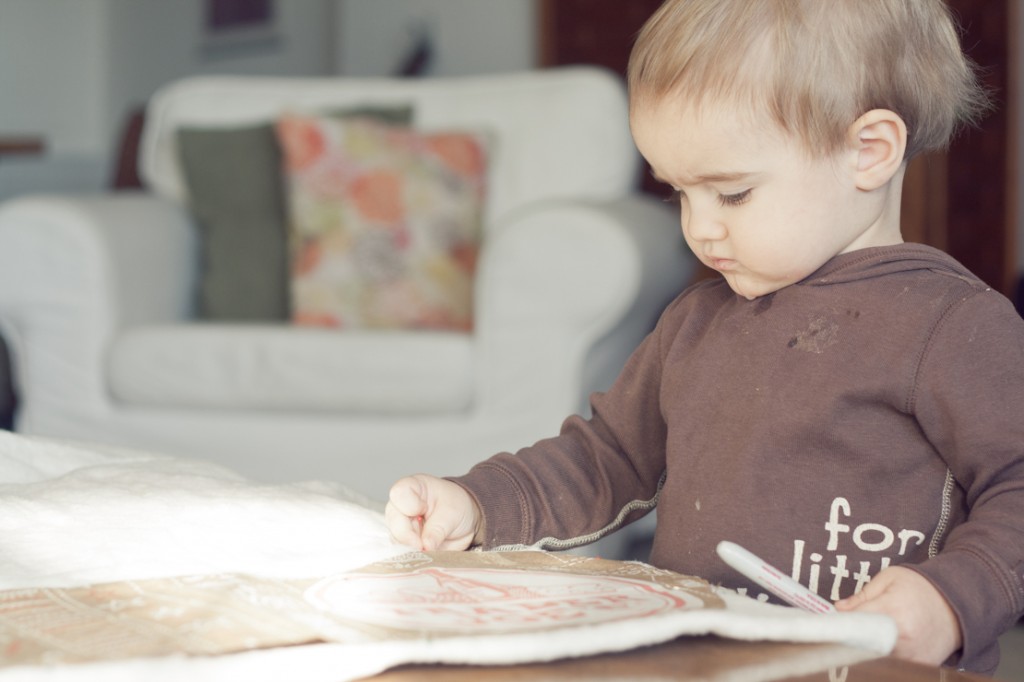
3: Get a cute helper (optional, but encouraged).
4: Repeat, cutting two stocking shapes out of batting for each stocking.
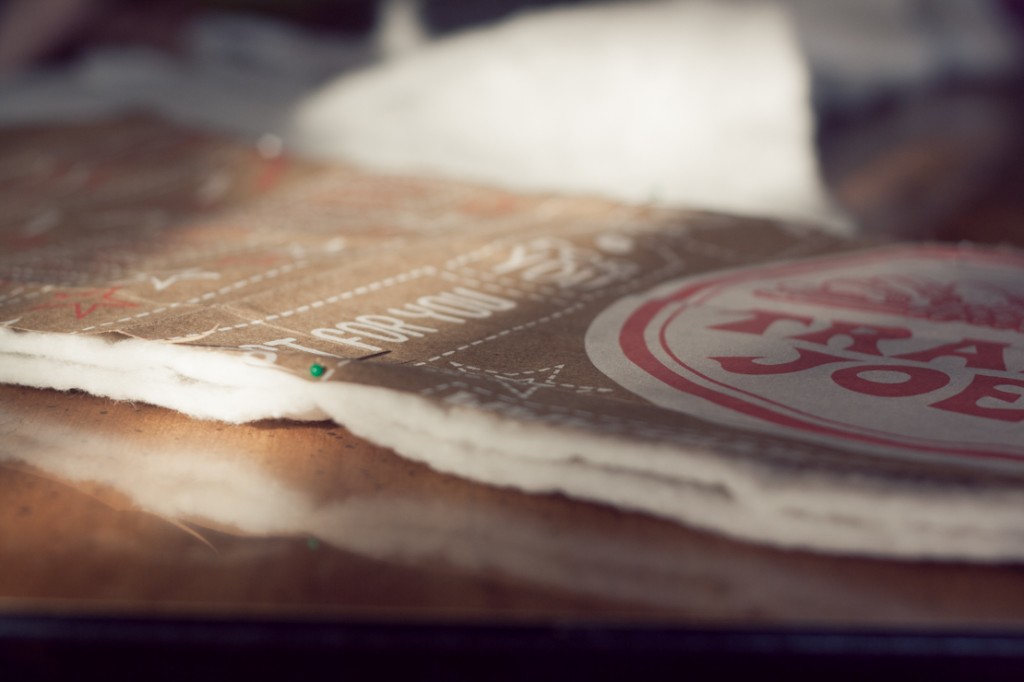
5: Pin batting to fabric pieces for the outside of the stocking.
I chose the custom lapel pins for this. As we know, the color, shape, design, finish, base metal, etc., are a couple of variations anyone can make into lapel pins. Actually designing pins may be a good activity. When someone is designing his personal pin, he will enjoy it more.
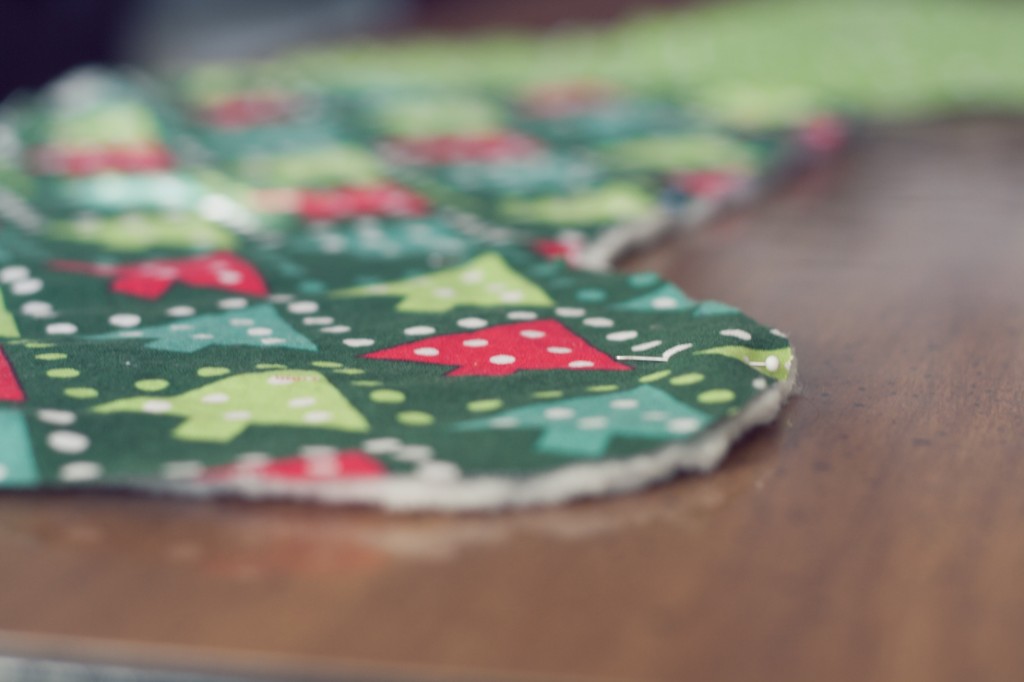
6: Using a straightedge and a fabric marker (or a thin piece of soap, if you’re me), make diagonal parallel lines as guides for quilting diamonds.
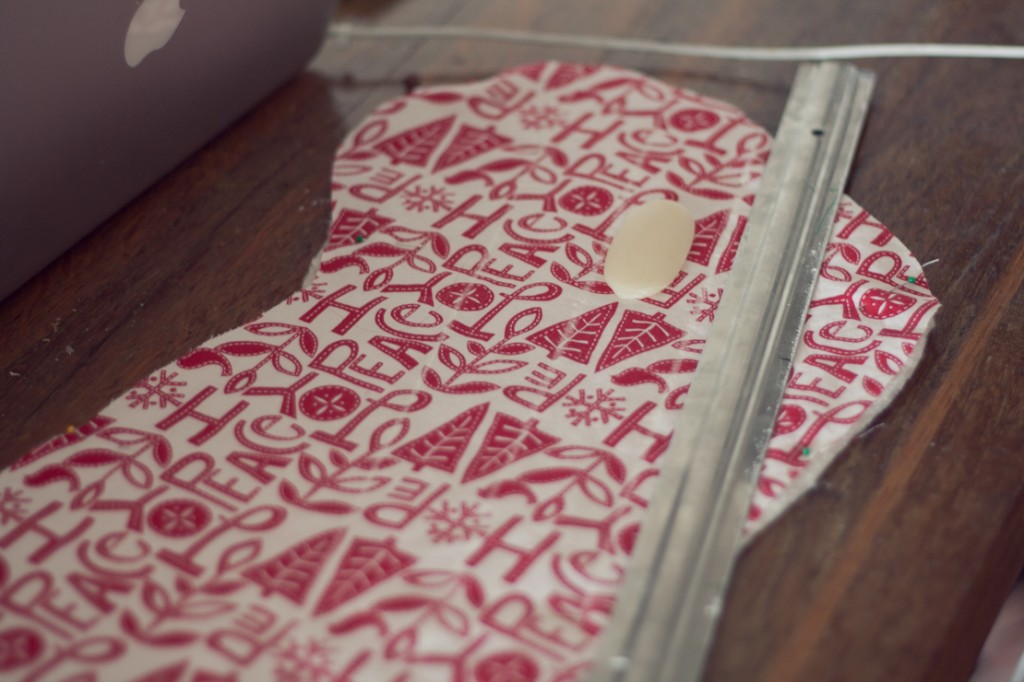
7: Sew along the lines – creating the outside of the quilted stocking.
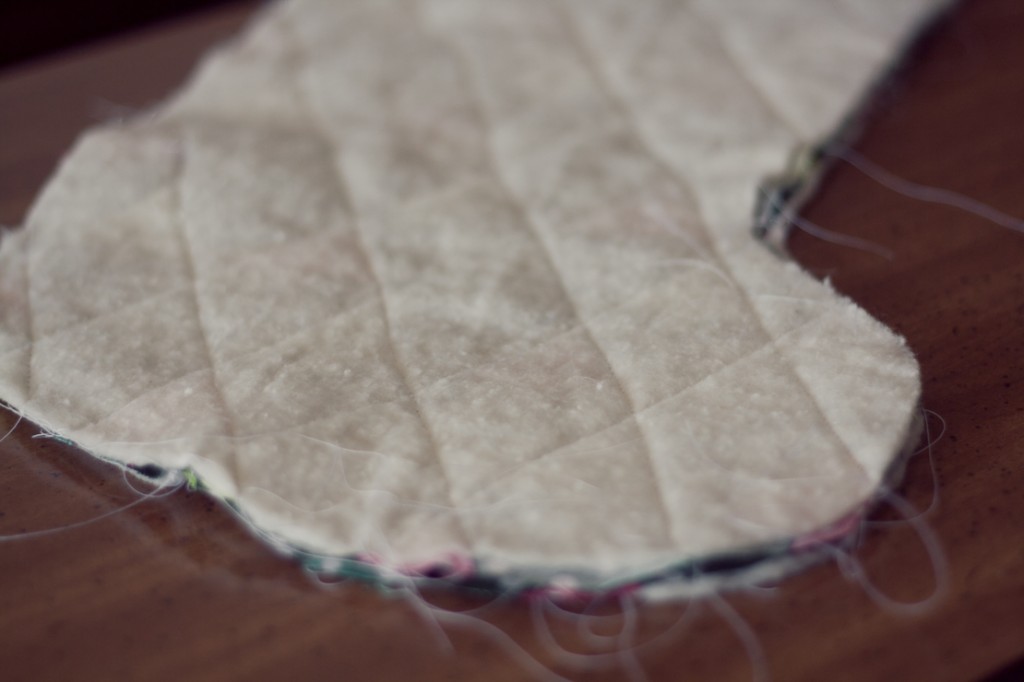
8: Iron, pin, and sew together quilted pieces – right side together. Cut notches out of the curves.
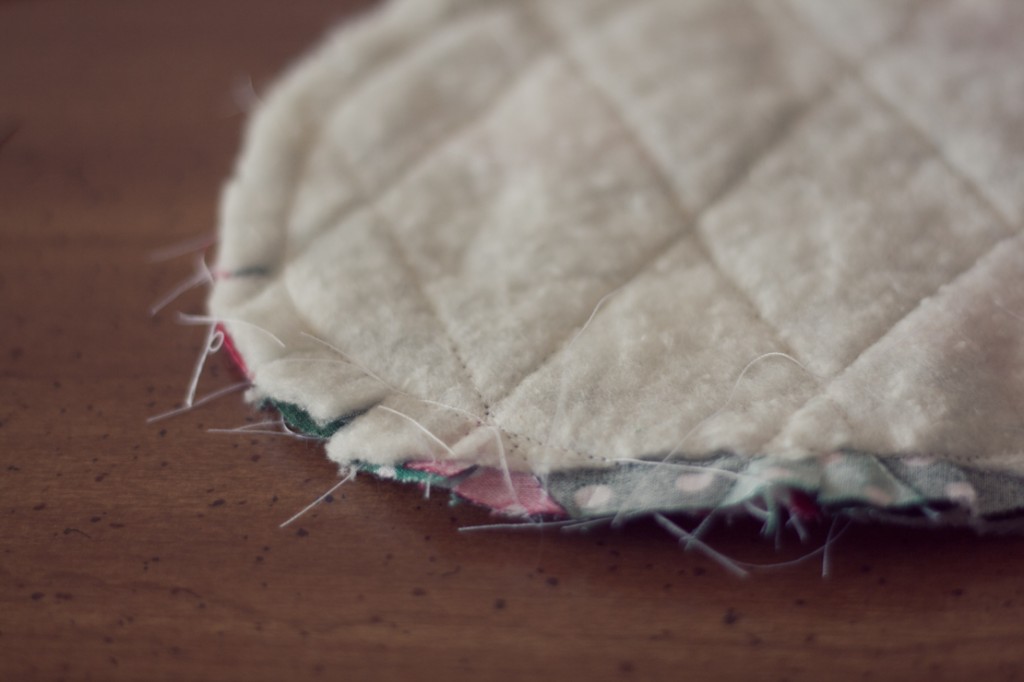
9: Pin and sew together stocking linings.
I’m not specifying seam allowances and such – but make your lining seams a bit bigger since they’ll be inside the fluffy quilted stocking. (Of course, since it’s inside and no one will see it, it’s okay if it’s not perfect.)
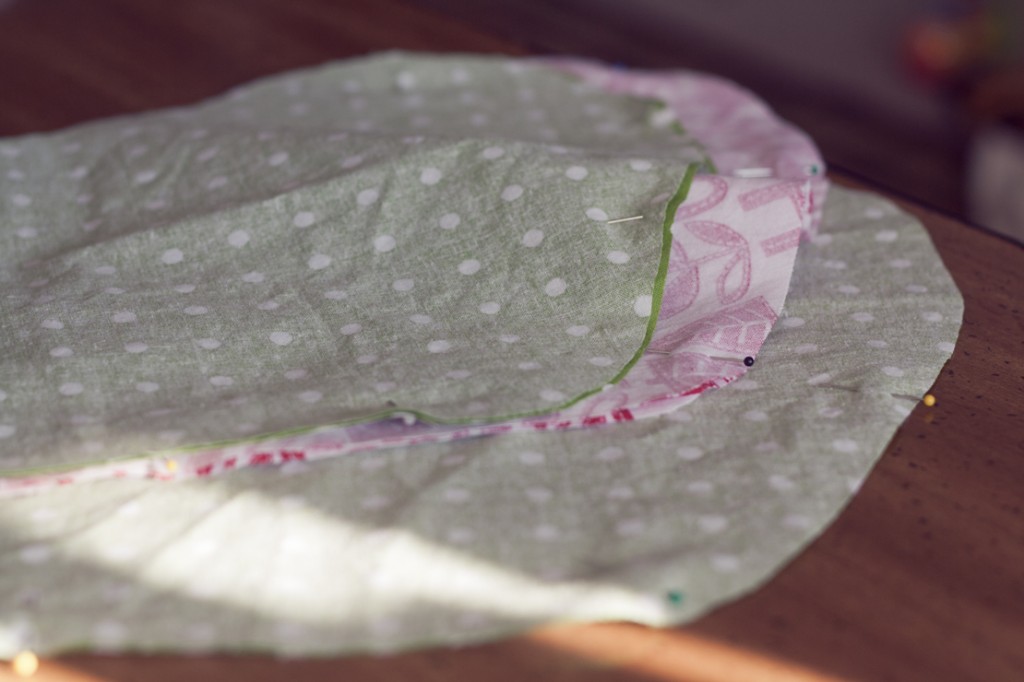
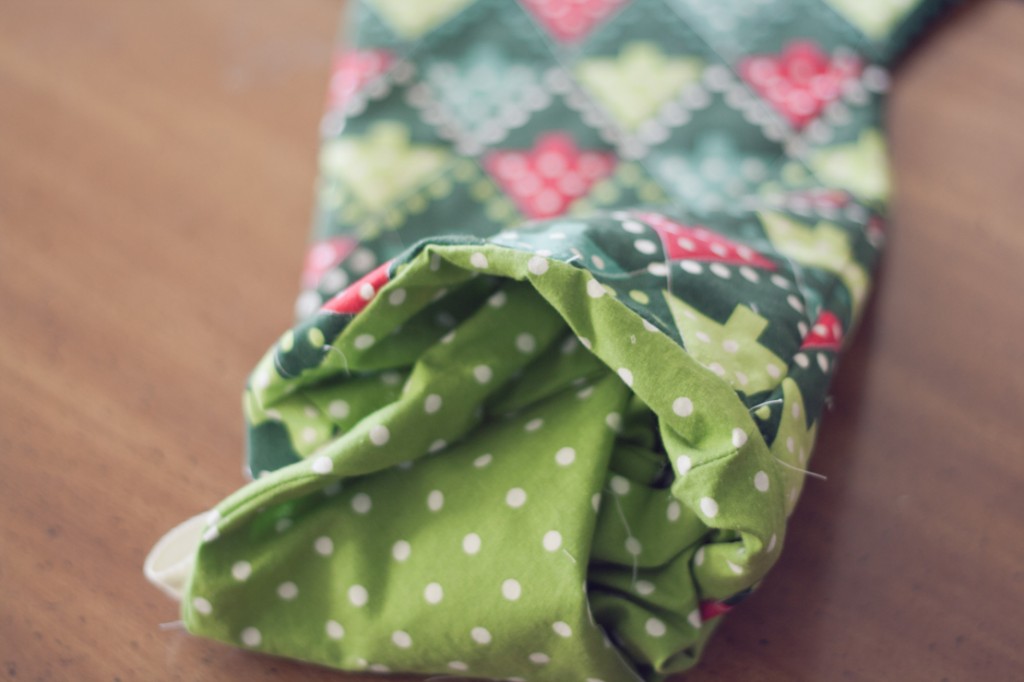
10: Turn lining inside out and stuff into stocking, so the right sides of the fabric are touching.
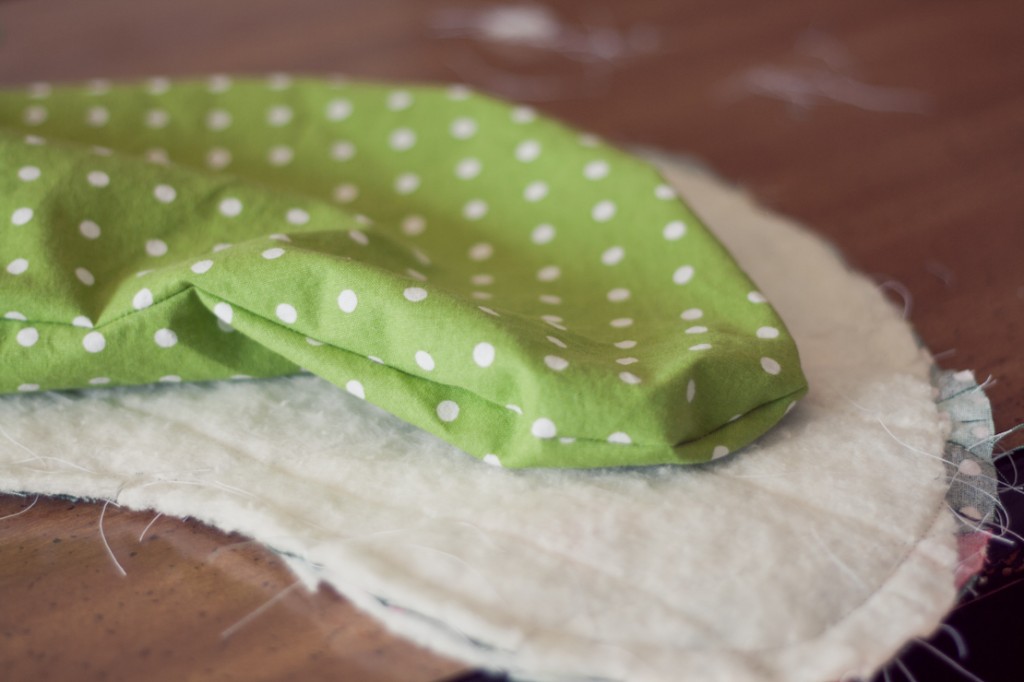
11: Tuck a loop of twill tape in between the lining and outside
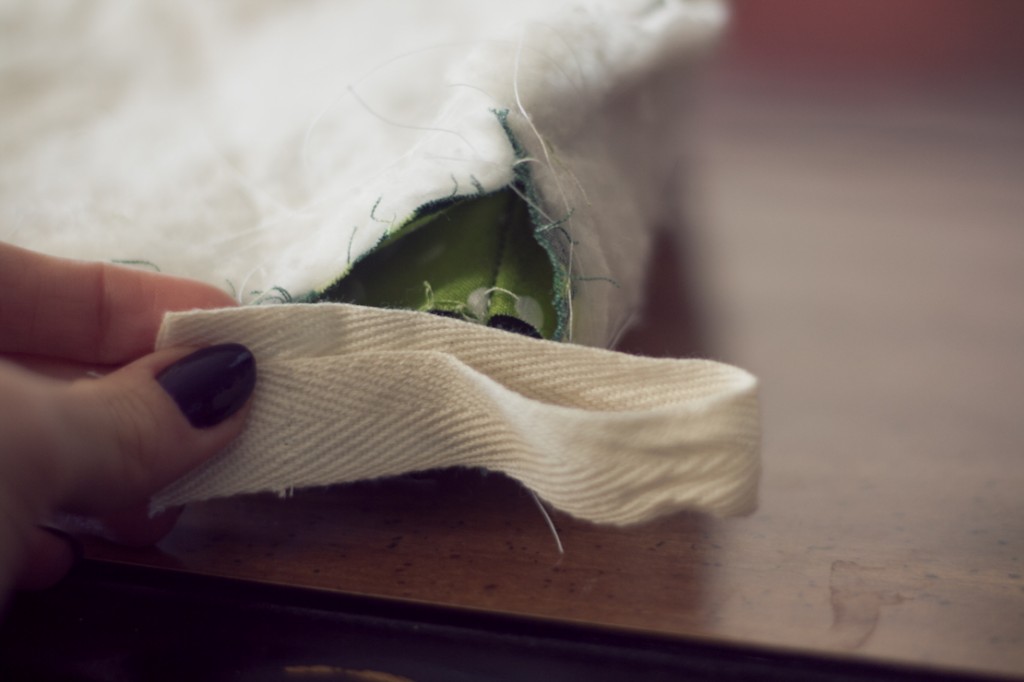
12: Pin top together and sew.
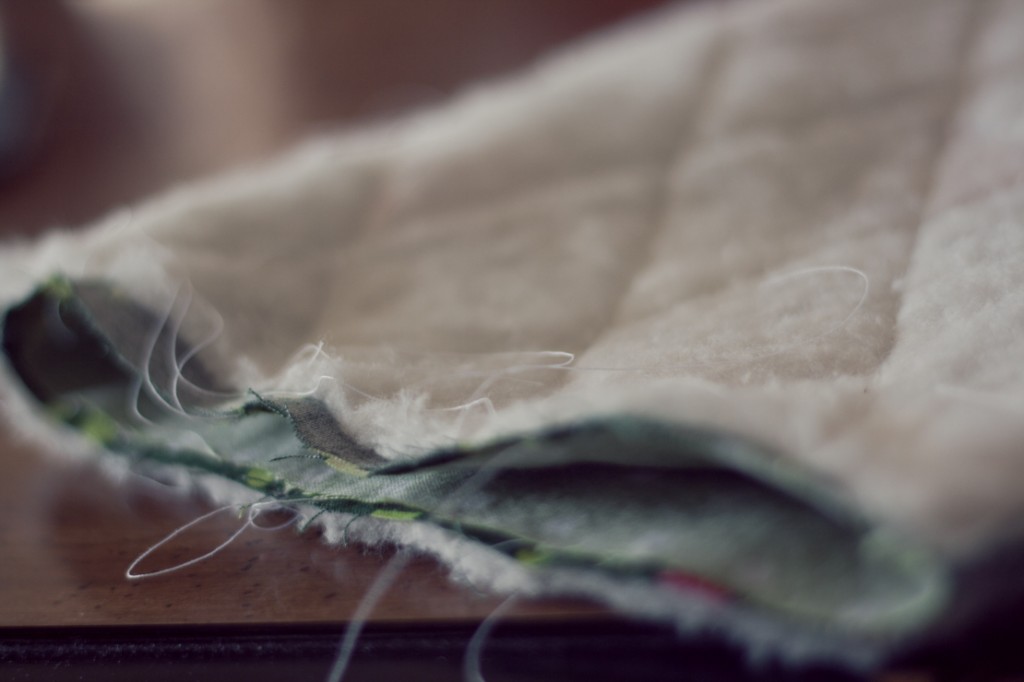
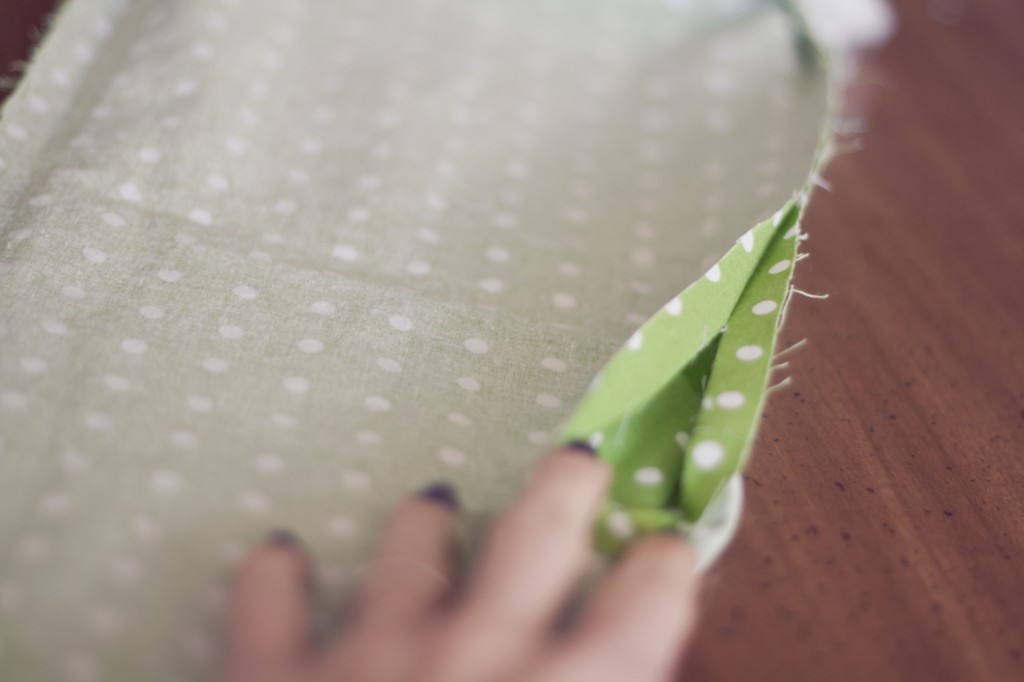
13: Pull lining out of stocking and rip a few inches of straight seams down the side. Pull stocking right-side-out through this hole.
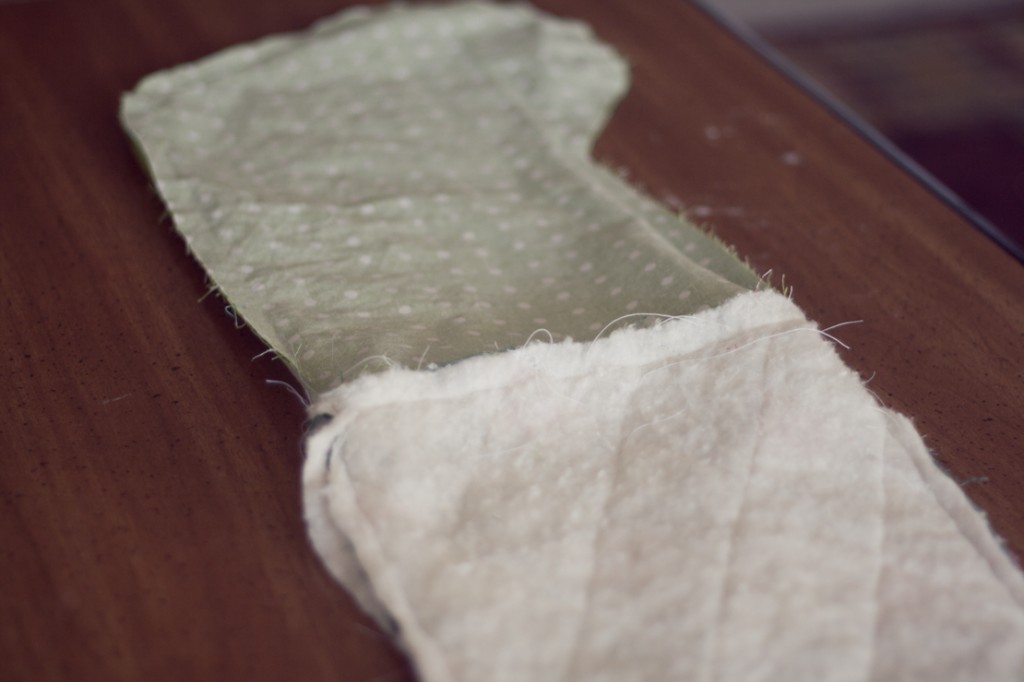
14: Sew up the opening you just made.
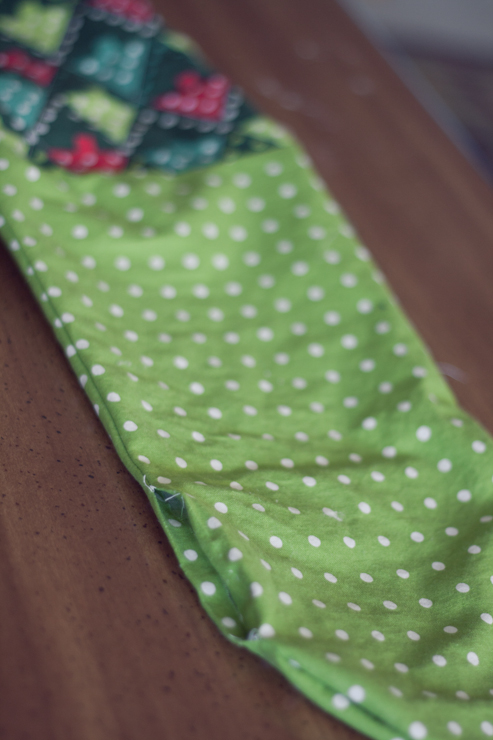
15: Stuff lining into stocking and iron.
16: Sew along the top of the stocking. All done!
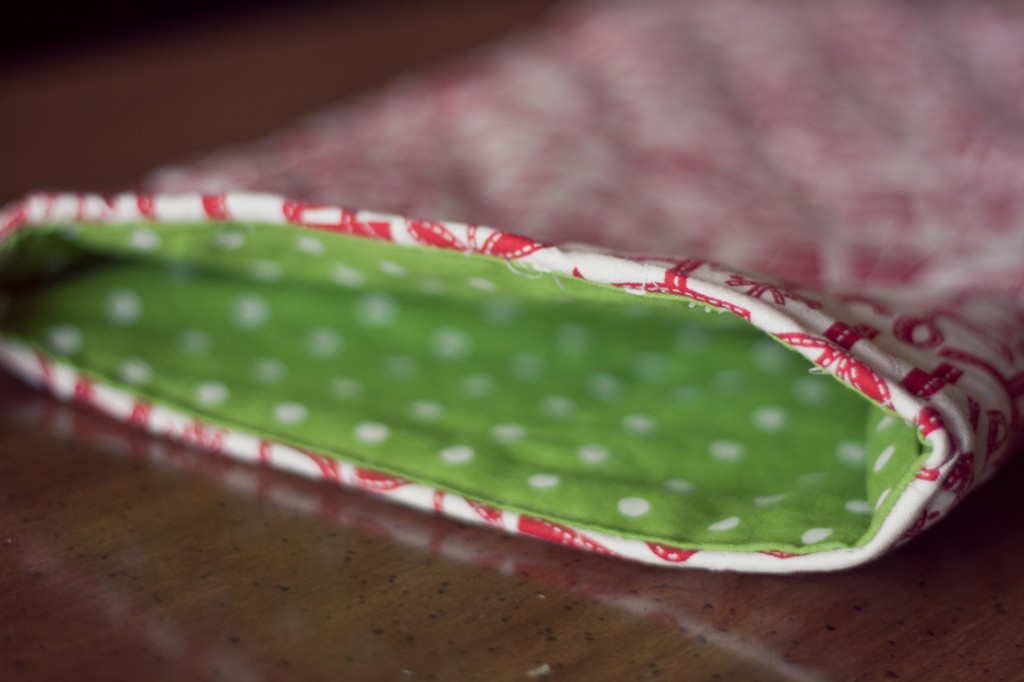
For added fun, add a ruffle cuff to your stocking before sewing the quilted pieces together in step 8.
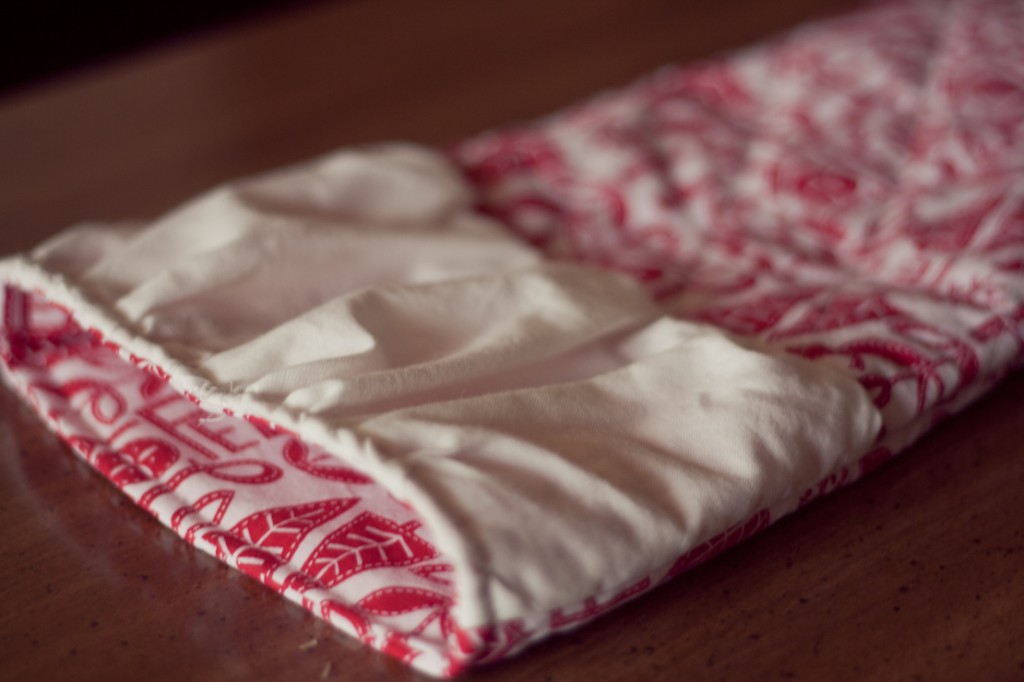
Our family’s stockings:
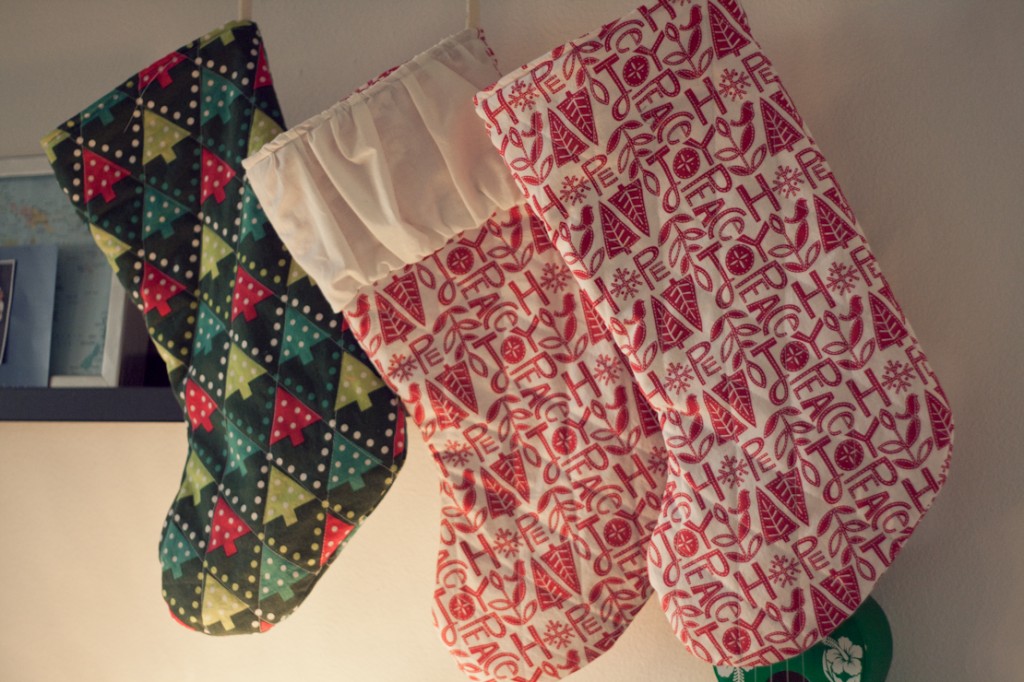
These are versatile – you could lengthen the stocking to be able to cuff it, or add embroidery or applique or whatever you fancy!
I like that Mike and I have matching stockings, then Gabe and any other child(ren) we have can be different fabrics. And I’m really excited that I was able to make our stockings that we’ll use every year! It’s such a fun feeling.
Merry Christmas week!


I cannot sew at all, so this seems like a huge project to me and something I wouldn’t dare try without supervision, haha. But your stockings turned out so cute! You did an awesome job!
Sewing is fun, but can be verrrry frustrating if you don’t know what you’re doing! (Or…even if you do.)
Those look fantastic! I can’t sew at all either (I almost failed home ec because I couldn’t sew and I couldn’t bake – but I did amazing in shop!) I love the pic of Gabe helping – Topher would probably take one look at my fabric, say “MESSING!” – and throw the whole project on the floor. “Messing” is his favourite word these days …
How funny! :)
You are so talented! It was a lot of effort for me to order our stockings online from PB Kids! HAA!
This coming from the t-shirt scarf queen!?
2012 Goal : Learn to sew. These are adorable!
Thanks, Doni! :)
These look great! So impressed. And now can you get to that part where you teach me how to sew? Haha.
Sure…come on over! ;)
I did this for my husband years ago, but on the back I quilted his name in swirly cursive. The only probably was I had the toe of the stocking facing the wrong way! It ended up a bit funky, but I hear that’s what in quilting they call a humble block :)
I had SO many mistakes with Mike’s stocking. I first sewed the lining in backwards. OOPS.